Guide to Hedging Plants
Hedges are essentially living walls made up of plants which can serve a decorative or practical function, or both. You can find cheap and easy to plant hedging plants that generally take between 3 and 5 years to establish, or opt for larger, more mature plants which if well cared for will produce a solid hedge almost immediately.
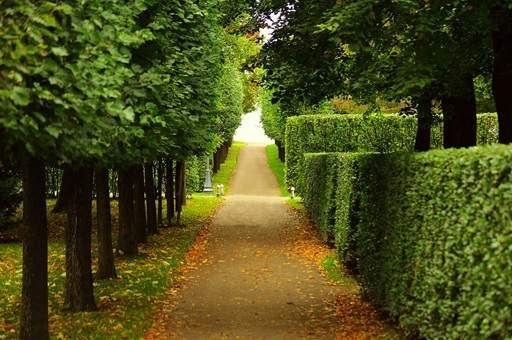
Hedges have numerous uses in the garden. They can provide an attractive way to delineate the boundaries between your garden and a neighbours, or the edge of your garden and a roadway. Hedges provide a perimeter and structure to your garden, acting as a solid backdrop to showy plants within your borders as well as providing seasonal displays of their own. A carefully chosen and well-planted hedge will provide privacy, act as a barrier for sound and pollution, shelter your garden from prevailing winds and create an impenetrable barrier to keep out unwanted visitors.
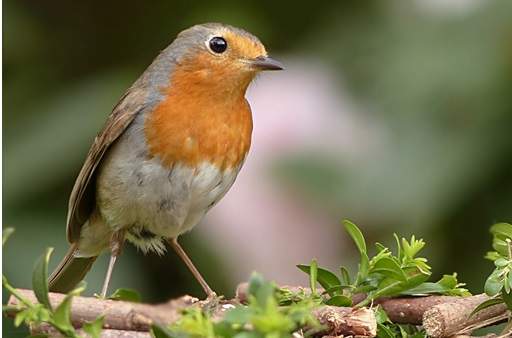
Hedging plants can also act as a haven for wildlife. They provide a nesting site for birds which can also feed on the berries, seeds and insects. Close interwoven hedging branches provide safe nesting and roosting places for small birds like thrushes, finches, robins, hedge sparrows and wrens, whilst open hedges tend to attract magpies, crows, pigeons and squirrels. Butterflies and moths will visit for the nectar of flowers and small mammals will use the cover of the hedgerow for shelter.
Selecting Plants to use as a Hedge
(1) Ornamental vs. Native Hedging
Native hedges generally contain a variety of species and are designed to replicate ancient hedgerows. A typical native mixed hedge would contain 5 to 7 species although more and less may be used. Typically a native hedge would be 70% Hawthorn, 5% Beech, 5% Holly, 5% Guelder Rose, 5% Wild Rose, 5% Hazelnut and 5% Sloeberry. Consider building in some yew plants too for improved winter interest (evergreen foliage and red berries). If planted with a good mix of varieties, native hedges will deliver a year-round display of colourful foliage, flowers, berries and seeds. A native hedge can be thought of as being very much alike to a woodland edge because the species that typically comprise a native hedge are often found as part of a woodland edge. In fact, many of the oldest hedges were formed as woodland was cleared and the woodland edge left as a boundary.
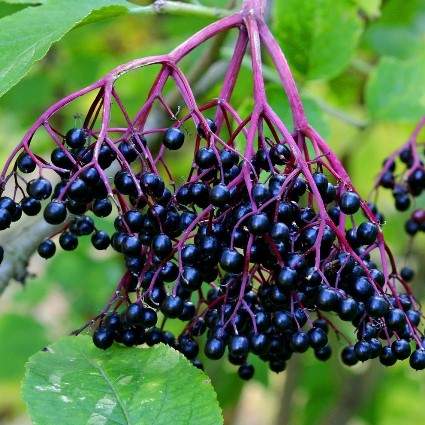
Ornamental hedges are more often single species although mixed ornamental hedges are not un-common. Ornamental hedges are intended to be decorative, offering a colourful range of leaves, flowers (at various times of the year depending on variety), colourful bark, fruits, berries or nuts. Ornamental hedges range from box plants kept tightly clipped in the knot garden, perhaps incorporating some topiary pieces, to Cornus hedges such as Cornus Flaviramea offering bright golden-yellow decorative bark to the single, bright white flowers and deep black autumn berries of Elder.
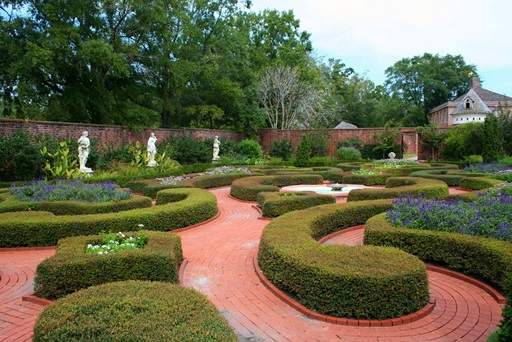
Box plants in a knot garden
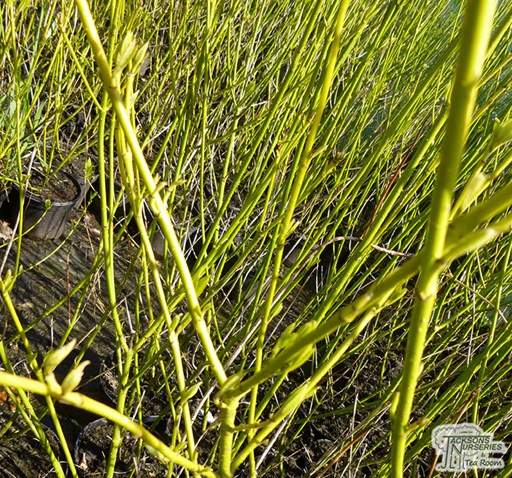
Cornus Flaviramea in a hedge
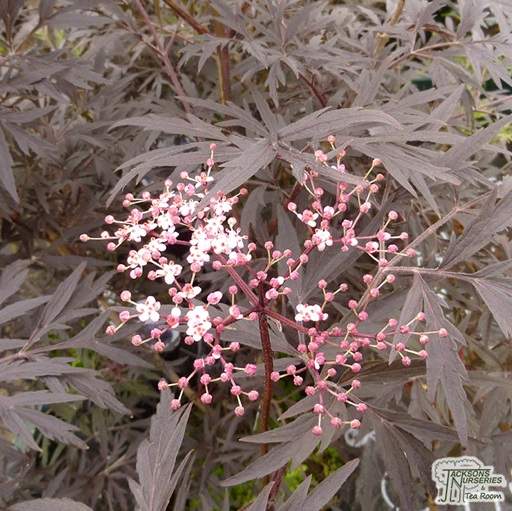
Flowers of Sambucus Nigra
(2) Evergreen or Deciduous
Deciduous hedges are the easiest to care for and generally the most forgiving if occasionally left neglected or pruned incorrectly. They also tend to filter wind to create less air turbulence compared to dense evergreen hedges. However, following an autumnal display, they will not provide much privacy or protection in the winter. The two obvious choices for a deciduous hedge are beech and hornbeam. Both look similar and form attractive green backdrops. Hornbeam hedging comes into leaf earlier at around late April time and prefers a heavier, damp soil. Beech hedging comes into leaf a little later and is best suited to light, well-drained soils.
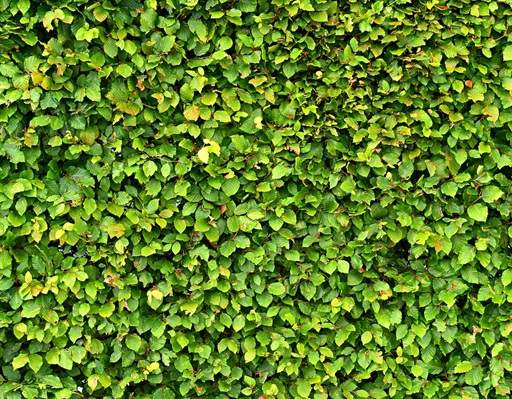
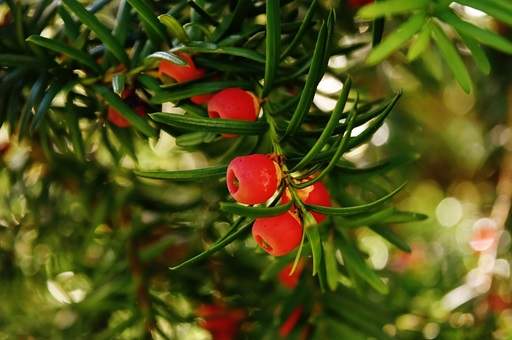
Evergreen hedges are able to offer year-round privacy and shelter, although they tend to require annual pruning and a little more maintenance than deciduous hedges. Conifers are often used for hedging, such as yew plants which are slow growing and produce attractive red berries in late summer. The spiny foliage of holly plants make a truly intruder-proof hedge, but it is slower growing than yew. Green privet is great for beginners as it is very tough and forgiving of pruning mistakes, being capable of growing back from old wood as well as new. For a super-fast growing evergreen hedge consider Leylandii, but bear in mind they will need pruning twice a year and can put on a couple of metres of growth in just a few years once established if not kept in check.
(3) Type of Hedge
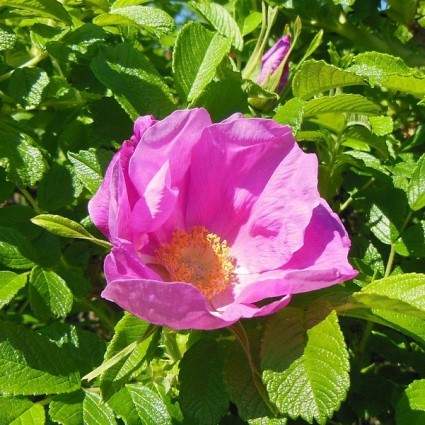
Think carefully about the type of hedge you want to install and its intended purpose. Is the hedge for a formal garden structure (such as Buxus Sempervirens plants grown in a Box garden) or for a boundary between gardens where privacy is a concern (in which case a thick conifer such as Norway Spruce will be a good choice)? Does the hedge need to be intruder proof? Most rows of densely planted hedges will provide some security. For added protection use plants that have thorns such as common hawthorn or blackthorn or prickly leaves (e.g. common holly plants). If you want an intruder proof hedge with the added benefit of attractive flowers, then Rosa Canina (Dog Rose) or Rosa Rugosa (Hedging Rose), with pale pink and magenta blooms respectively, could be for you. Do you need the hedge to act as a year-round wind barrier to provide shelter to your garden and other plants grown within it? If so, the dense habit and evergreen foliage of laurel hedging may be a good choice.
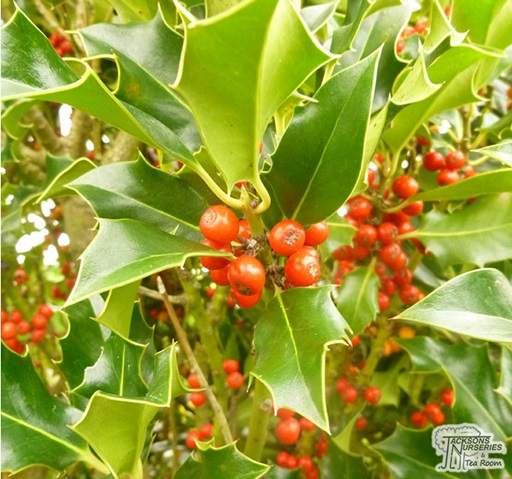
Ilex Aquifolium (Common Holly)
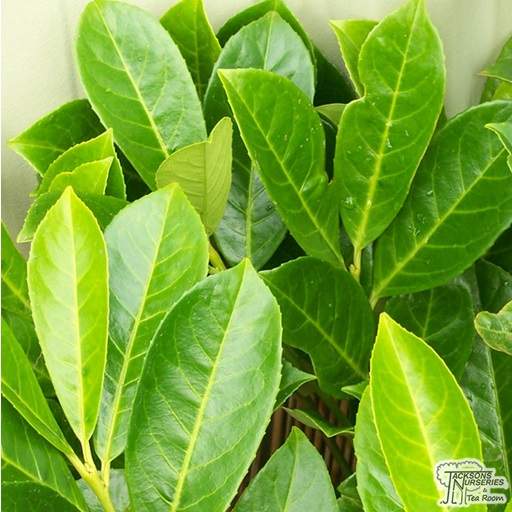
Prunus Rotundifolia (Laurel Hedging)
(4) Plant Preferences & Maintenance Requirements
Take into account your soil conditions, the aspect of the planting site and which hedges grow locally in similar situations. As you would for planting shrubs, trees and conifers for any other purpose, make sure you choose varieties that are suitable for the situation in which you intend to plant. For example yew hedging will grow well if your hedge is for a shady spot, but you would not want to grow Goat Willow (Salix Caprea) in a chalky soil because it would not succeed.
Always consider maintenance requirements before planting a hedge. Box hedging makes one of the best low-maintenance evergreen hedges, although it is relatively slow growing and will take around 10-15 years to make a solid 1.5 metre (5 foot) high hedge. Many hedge problems, including neighbour disputes, happen because fast-growing plants have been used for quick results, producing hedges that rapidly become too high and are difficult to maintain. For this reason, carefully considering the intended purpose of the hedge as per (3) above and if you intend to install a fast-growing hedge, make sure you can commit the necessary time to properly maintain it (or, alternatively, cover the cost of paying someone else to do it).
(5) Pot-Grown vs. Bare Root vs. Root Balled vs. Whips
Once you've decided on the varieties you want to use for your hedge, you'll need to consider whether you want to opt for pot-grown specimens, bare root, root balled plants, or whips. Each option has its relative pros and cons:
- Pot-grown hedging plants give you greater flexibility as they can be planted at any time of year when the ground is not waterlogged or frozen. They are also larger and more established than whips, for example. Large pot-grown plants are therefore often a good choice if you want to create an almost instant barrier or privacy screen. However, containerised plants are more expensive for nurseries to grow, so you'll pay a premium for the flexibility and, in particular, for larger, mature specimens.
- Bare root plants are the most cost-effective way of growing a hedge but restrict your planting time to mid-October to the end of March. We stock the most popular bare root plants in a good range of sizes, so you can still get close to an instant hedge with bare root plants, providing you don't mind braving it into the garden at the coldest time of the year.
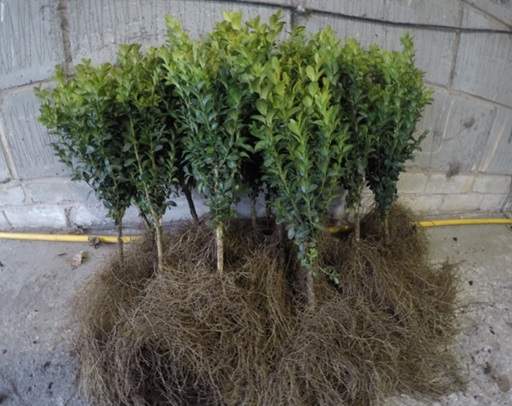
- Root-balled hedging means plants supplied with soil around the roots but contained within a plastic casing instead of a pot. This is a popular way of supplying (particularly large) evergreen plants that have been grown in the field. Root balled plants should be handled with great care - in particular, ensure they are never dropped onto the ground from any height.
- Whips are hedging plants supplied as saplings about one year old, typically with a single stem and no branching to start with, although they will establish and bush out well once in the ground. Whips offer a very cheap way to install a hedge (particularly for varieties such as holly plants that are slow growing and therefore more expensive to buy as larger specimens) but you must be prepared to wait a number of years before your hedge forms an impenetrable barrier. Their low cost means you can afford to plant them close together.
A full list of all hedging plants we sell is given at the end of this article.
Planting Advice
Guidance for planting particular types of hedges is essentially the same as for planting the same varieties as stand-alone shrubs or trees.
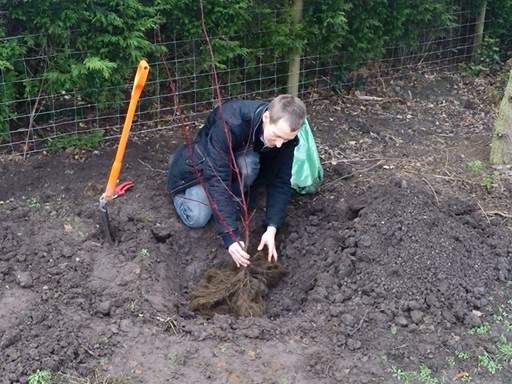
When to Plant
Pot-grown hedging plants can be planted at any time of the year providing the ground is not frozen or waterlogged and therefore can be worked easily. However, in practice early autumn is usually best for evergreen and semi-evergreen hedges, whilst deciduous hedges are best planted in mid-autumn to late winter after the leaves have fallen and dormancy has set in. The only exception is that evergreens at a cold, windy site are best planted from April to mid-May (rather than autumn) so the cold winds do not dry out the new plants over the winter. An alternative in this scenario is to plant in autumn as usual then protect your plants in their first winter using a fabric wind-break well-secured between 3-4 stakes.
Bare root hedging should be planted between mid-October and the end of March. Rootballed evergreens are best planted from the start of September to mid-October or from the beginning of April to mid-May. At these times the sun is not too strong and, critically, if the temperatures are not too cold, plants will develop fine root hair that gives them a head start in spring.

Recommended planting times for container grown, bare root and rootballed evergreen hedging
If you're not able to plant immediately after receiving your hedging, or if the conditions do not permit, store your plants in a frost-free place such as a greenhouse, shed or conservatory, until you're ready to plant. For bare root plants, soak the roots in water for 2 hours before planting (they will inevitably have dried out a little in transit), then cover the roots with moist potting compost, shredded paper or straw. Place a polythene sheet over the roots to help retain the moisture and keep them warm. Alternatively, bare root plants can be "heeled in", which means to temporarily plant them in a narrow trench with the roots very close together and covered with around 1 foot (30cm) of soil to insulate the roots from the cold.
Preparing the Ground
Good soil preparation before planting will go a long way to getting your new hedging off on the right track. Plants deteriorate if left in their packaging for too long, so if possible cultivate the soil in the area you want to plant in advance. A planting trench can even be dug in advance and covered with polythene to keep it dry and prevent it from freezing. Start by removing all perennial weeds or using a weed killer over the ground that will be planted. Next, thoroughly dig over a 60-90cm (2-3 foot) strip where you want to plant your hedging so the planting hole isn't isolated.
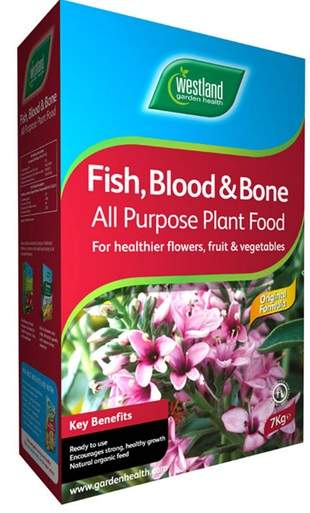
As well as eliminating compaction and improving drainage, this will ensure your hedging plants are able to root out freely through and across the loosened surrounding soil profile. Build in plenty of good-quality compost or organic matter such as well-rotted garden compost, manure, mushroom compost or composted bark. By doing this preparation 4-6 weeks in advance, the soil will be allowed to settle and will still be workable when you come to plant your hedge. If this is difficult, apply generous handfuls of blood, fish and bone to the soil instead (this can be done at planting time).
You'll need to dig a planting trench at least 45cm (1.5 foot) wide and 30cm (1 foot) deep (deeper for more established plants to accommodate their larger root systems) where you intend to plant your new hedge. Break up any remaining compaction, especially in the base and sides of the hole. If you have a heavy clay soil, look to improve drainage by incorporating sand or gravel into your soil (this must be lime-free), forming a ridge to plant into (15-20cm high and 50-70cm wide). Take particular care not to create a solid basin at the base of the trench that will stop the water from draining freely. If you intend to plant in an area of ground that regularly becomes waterlogged in the winter, you will likely need to install a permanent drainage solution.
Spacing - Native Hedge
Native hedgerows are usually planted in 2 rows approximately 30cm apart with the rows off set with each other. The number of plants per liner metre is usually 4-5 but up to 9 may be used.
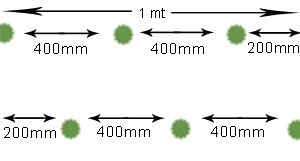
E.g. to plant 50 liner metres of native hedge at 5 plants per liner metre the following number of plants (rounded up) would be needed: 50 linear metres x 5 = 250 plants
- 70% Hawthorn = 175
- 5% Beech = 13
- 5% Holly=13
- 5% Guelder Rose = 13
- 5% Wild Rose = 13
- 5% Hazelnut = 13
- 5% Sloe Berry = 13
Spacing - Ornamental Hedge
Ornamental hedges are usually planted as a single row. The distance apart varies between species but the most common ornamental hedge species spacing is shown below:
|
Plant Name
|
Spacing
45 cm
20 cm
45 cm
45 cm
30 cm
20 cm
|
Plant Name
|
Spacing
50 cm
50 cm
45 cm
40 cm
30 cm
30 cm
|
If you want more of an instant hedge or screen, increase the planting density to make the gaps between plants smaller. Your hedging plants will fill out the smaller gaps more quickly, in as little as a seasons worth of growth. Just be a little careful with large evergreens (typically supplied root balled) as they need to have a sufficiently large rooting area to maintain the foliage structure. Conversely, planting at slightly larger distances apart (but no more than +15% on the planting distances set out above) to save money will still work, but you need to be aware that it will take a few seasons longer to create a full screen and you may need to accept some small gaps at ground level.
Also bear in mind that the taller a hedge needs to grow, the larger a root system and the more water and nutrients it will need. If you're looking to grow a very tall hedge, space your plants at the less dense range of our guidelines for native hedging (i.e. 4-5 plants per linear metre) or add up to +15% to the recommended distances for ornamental hedging above. Clearly, if you want a hedge to act as an almost instant screen and to grow tall, there is a trade off to be made. Another factor to consider when determining planting distances is the size of plants you intend to purchase. Plants supplied in a large container will naturally be more established, taller and wider, so you won't necessarily want (or be able) to plant hedging plants supplied in a 10 litre container at the same distance as the same plant in a 2 litre container.
Planting
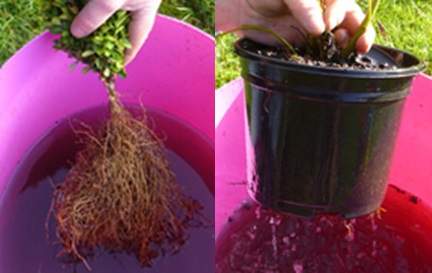
1. Ideally soak the roots of potted and bare root plants for 4 hours prior to planting. Never allow the roots to dry out. Cut back any damaged roots to healthy growth using an old pair of secateurs or sharp knife.
2. Mix up to half and half of the dug out soil with planting compost (multi purpose tree and shrub planting compost is fine but remember ericaceous plants need ericaceous compost instead) and sprinkle a hand full of fertilizer (e.g. blood fish and bone) over the soil & compost and mix together.
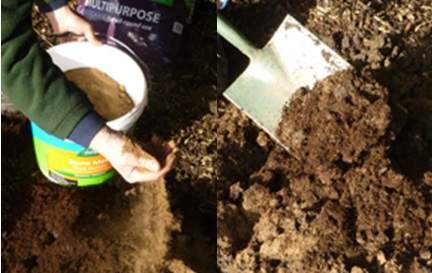
3. Plant the tree or shrub at the same depth as it was previously growing at or, up to 25mm deeper – look for the change in the colour of the stem if bare root – never plant so that the plant is too high in the hole and never push or compress the plant roots in the hole to make it fit. Make sure the plant is looking its best by rotating it in the hole to make sure that the best side is facing the direction that you will be mainly viewing from. Once you've decided on the position, spread the roots out across the planting hole.
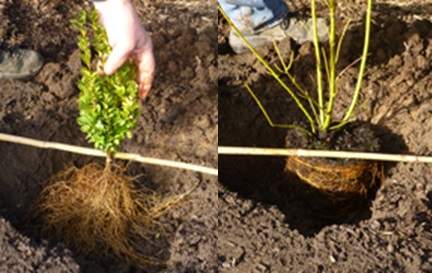
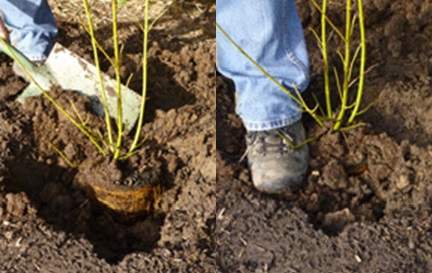
4. For root-balled plants, untie or cut the top of the root wrap and carefully tuck the sides of the root wrap under the plant. Backfill using the prepared mix of soil from the hole, compost and fertilizer, firming down evenly whilst ensuring that the plant is still in the upright position. Avoid burying any of the bare stem.
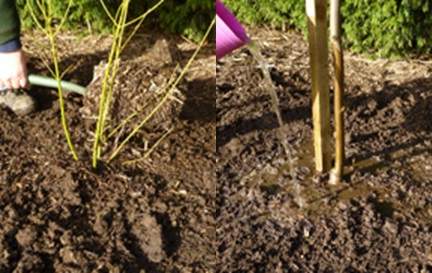
5. After planting, mulch with bark or well rotted manure, being careful to ensure the mulch does not touch the base of the tree or shrub, then water well. After planting whips, it's best to install rabbit shields and canes. If using rabbit shields, coil the spiral around the plant, place the cane inside the guard and push it firmly into the soil.
Garden Care
Watering
You'll need to continue to keep your new plants well watered, particularly in the first 2 years after planting as they develop a degree of drought tolerance.It is particularly important to keep your plants moist in March, April and May just before they break dormancy but some watering is still required during periods of dry weather during the winter when your hedging plants are dormant.
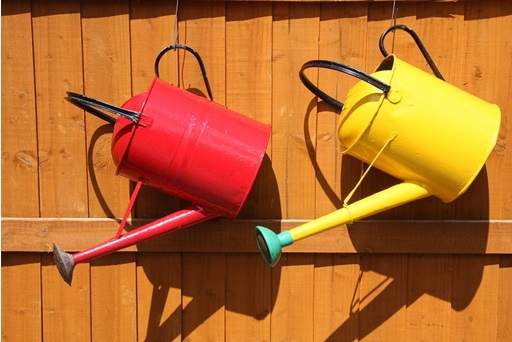
Applying lots of water (around 10 litres per square metre) twice a week when the ground is dry is better than watering a little every day because by fully saturating the ground you will encourage your hedging plants to develop a deep root system. Watering little and often will encourage your hedging plants to develop roots close to the soil surface, which is not helpful for building drought tolerance. If you have the time, we also recommend spraying the leaves of evergreen hedging in the evenings during periods of very hot dry weather. This is easily done using a sprinkler attached to the end of a hose.
Weeding, Feeding and Mulching
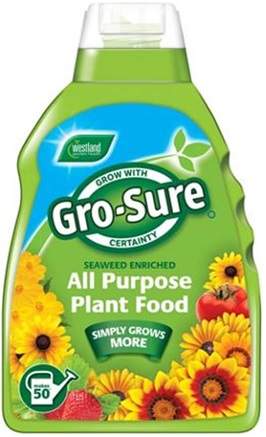
Weed growth must be controlled around the planting area to reduce competition for moisture and nutrients. Apply a generous handful of slow-release, general purpose granular feed or ericaceous plant food around the base of each plant plus a mulch of bark or well-rotted organic matter in spring for the first 2 years. When applying fertiliser, take care to avoid the leaves and don't feed after the end of August.
Pruning / Trimming
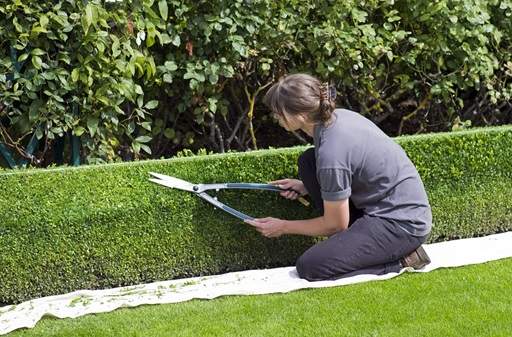
Good pruning or trimming is required to ensure hedging plants remain wide and dense at the base. The best hedges develop from strong re-growth at the base of the plants, so ensure pruning is either carried out at planting time or in the first spring. Trim out the leading shoots after the first year’s growth to encourage side shoots to develop and thereafter cut the hedge once or twice each year. Autumn is a good time of year to trim most hedges, but be sure to check specific guidance for the varieties of plants you are growing. You won't disturb any nesting birds at this time and deciduous trees and shrubs will be dormant. Avoid cutting during the bird breeding season (March-July) unless absolutely necessary.
Do not prune your hedge straight up and down to create a wall-shape. Instead, prune so the base is wider than the top in an inverted keystone-type shape. This will allow sufficient sunlight to reach the growth at the bottom, keeping it healthy. Investing in a hedge trimmer will definitely save you time for anything but the smallest of hedges. For many varieties, it's initially necessary to cut back hard to encourage the hedge to thicken up; if this applies to the plants you're growing, don't be afraid to chop them back hard (but again, check the guidance specific to the varieties you're growing first).
It's quite difficult to trim a hedge precisely using judgement alone, at least it normally takes a lot of practice! We therefore recommend laying out a network of guides before you start cutting using string and stakes. By taking the time to carefully install guides before you start, you'll get a precisely trimmed hedge.
Establishment Problems
The most common problem with hedging is failure of the plants to establish properly over the first 2 years. Tell-tale signs are yellow, brown or shrivelled leaves followed by defoliation; the issue is most obvious to observe in June. The most common causes are poor planting technique and lack of moisture once plants are in the ground. Solution: Buy strong plants from a reliable supplier (Jackson's Nurseries offer a 12 month satisfaction guarantee). Follow the planting guidance above carefully; in particular, do not expose the roots of bare root hedging plants to frost before planting, ensure hedging plants are planted at an appropriate time, provide plenty of moisture and nutrients when planting and water well thereafter.
Hedging Plants A-Z
 |
 |
 |
 |
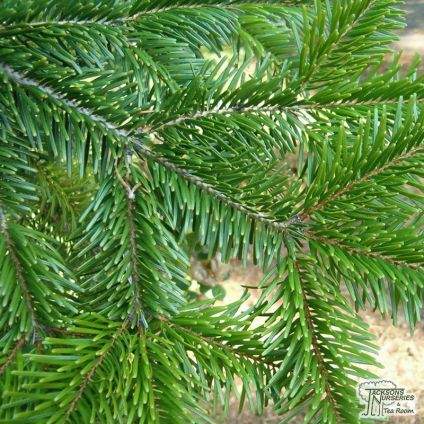
- Abies Nordmanniana (Nordmann Fir) - stunning, glossy, deep green-blue flat needles.
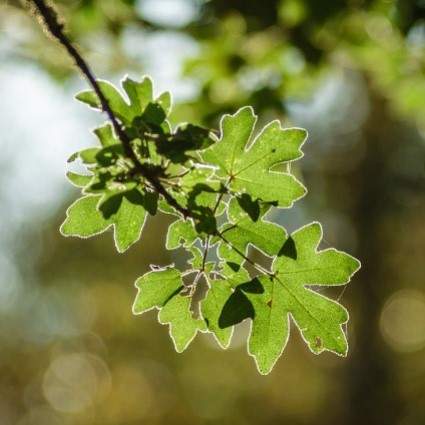
- Acer Campestre (Field Maple) - purple young foliage turning green as it matures & golden in autumn.
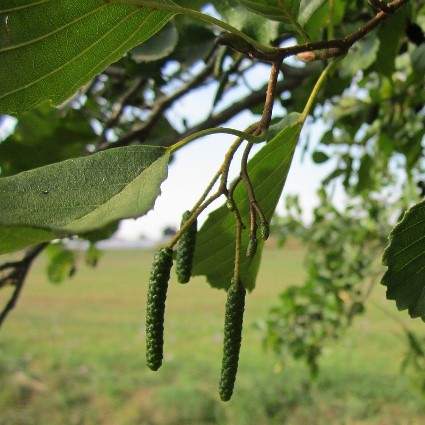
- Alnus Glutinosa (Common Alder) - British alder, grows in waterlogged areas and all but very alkaline soils.
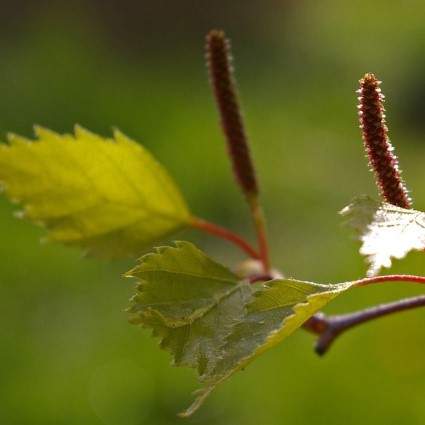
- Betula Pendula (Silver Birch)- peeling bark becomes marked with rough black cracks as the tree matures.
 |
 |
 |
 |
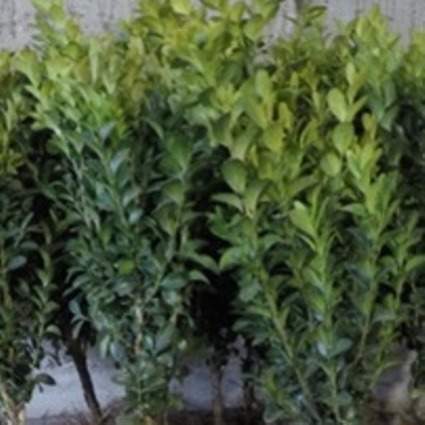
- Buxus Sempervirens (Box Hedging) - dense evergreen shrub that is quite slow growing yet very long lived.
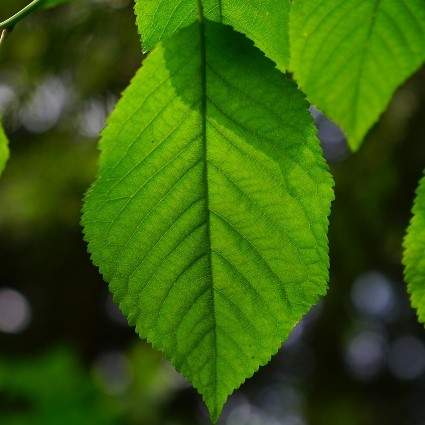
- Carpinus Betulus (Common Hornbeam) - large leaves that turn tan and copper in autumn giving fiery hues.
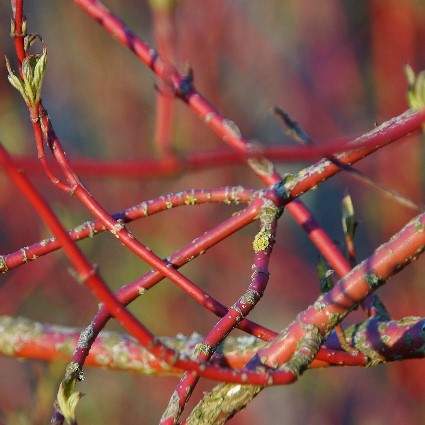
- Cornus Alba Gouchaultii (Tatarian Dogwood) - lime green leaves edged in gold & pink tinged when young.
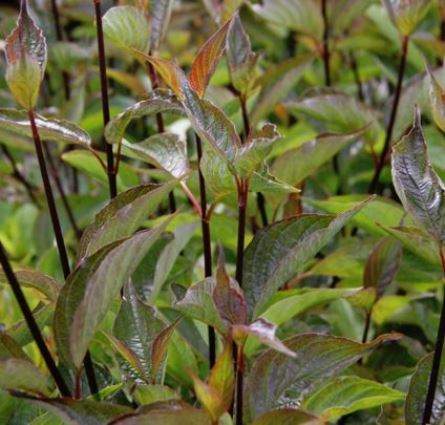
- Cornus Alba Kesselringii (Black Stemmed Dogwood) - hardy deciduous variety with dark red-black stems.
 |
 |
 |
 |
|
(Hazel) |
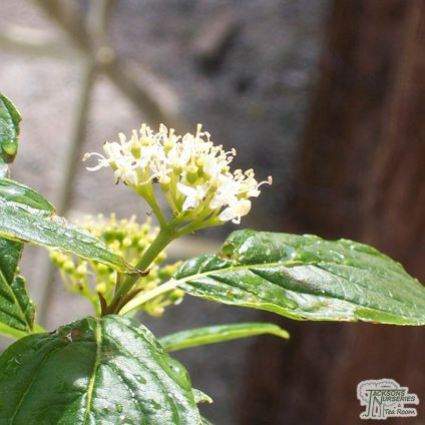
- Cornus Flaviramea (Golden-Twig Dogwood) - eye-catching stems useful for providing winter colour.
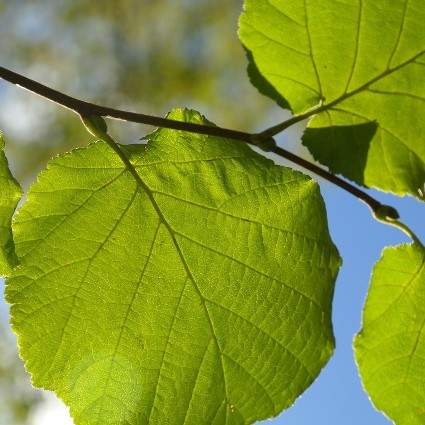
- Corylus Avellana (Hazel) - deciduous shrub that bears yellow catkins in the late winter months.
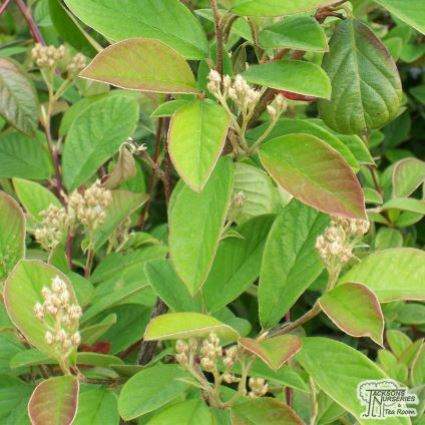
- Cotoneaster Lacteus (Cotoneaster) - Shallow cup-shaped white flowers grow from early to mid-summer.
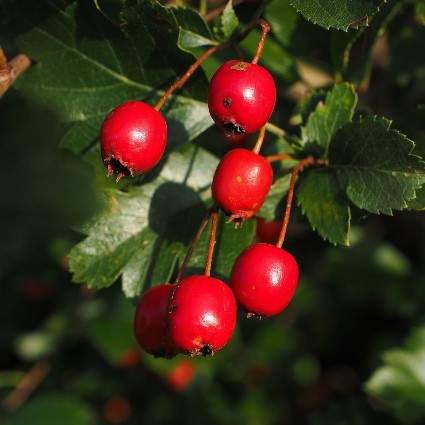
- Crataegus Monogyna (Common Hawthorn) - The main species in the majority of British native hedges.
 |
 |
 |
 |
|
(Copper Beech) or (Purple Beech) |
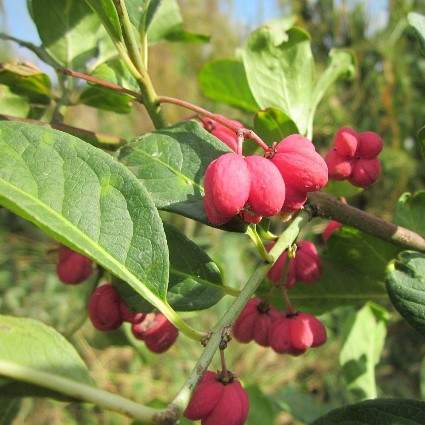
- Euonymus Europaeus (Spindleberry) - unusual yellow flowers and red fruits with orange seeds.
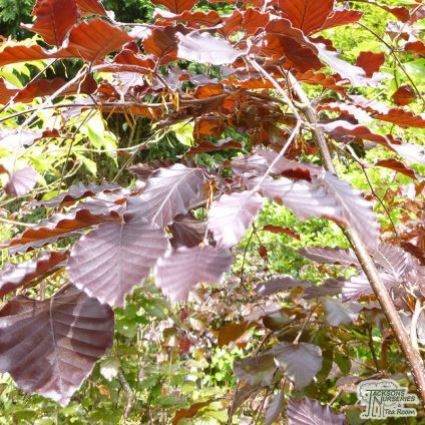
- Fagus sylvatica Atropurpurea (Copper Beech or Purple Beech) - Bright young coppery red leaves mature to deep maroon purple as the summer progresses, turning deep orange to copper in autumn.
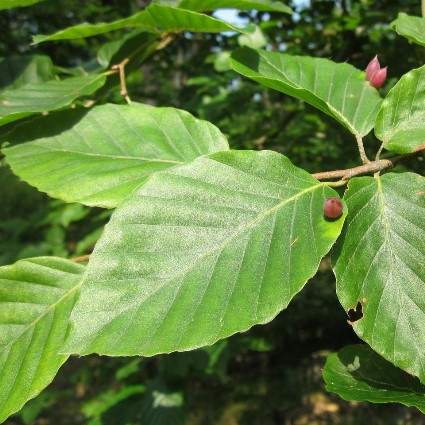
- Fagus sylvatica (Common Beech) - bright lime green new leaves turning rich dark green in maturity.
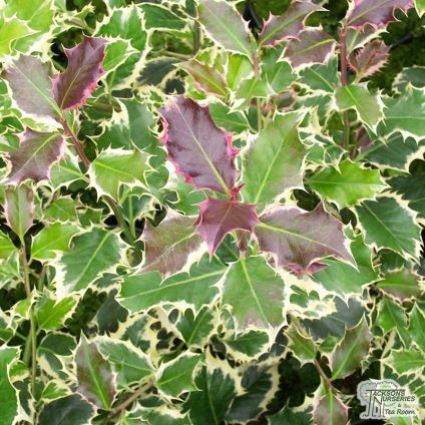
- Ilex Aquifolium (Common Holly) - glossy dark green leaves with sharp spines and autumn red berries.
 |
 |
 |
 |
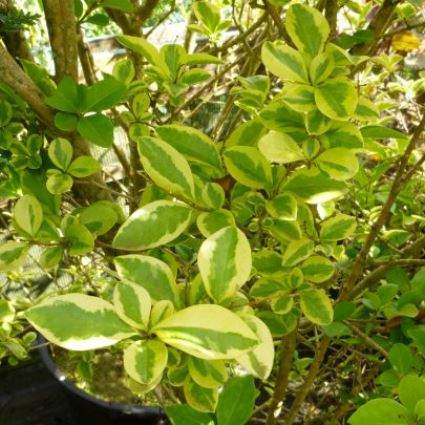
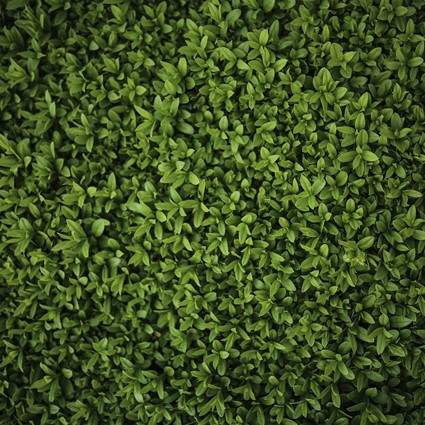
- Ligustrum Ovalifolium Aureum (Golden Privet) - gold-edged leaves and autumn berries. Low-maintenance.
- Ligustrum Ovalifolium (Common Green Privet) - glossy dark green leaves and blue-black autumn berries.
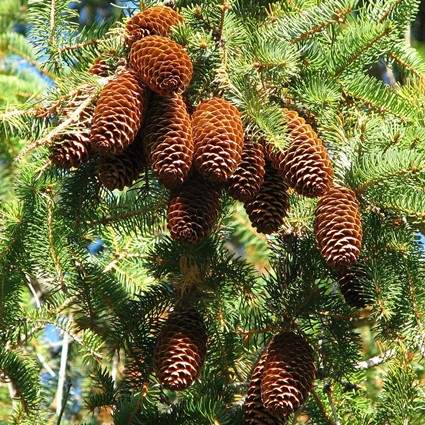
- Picea Abies (Norway Spruce) - tall growing conical forest conifer that tolerates poor ground.
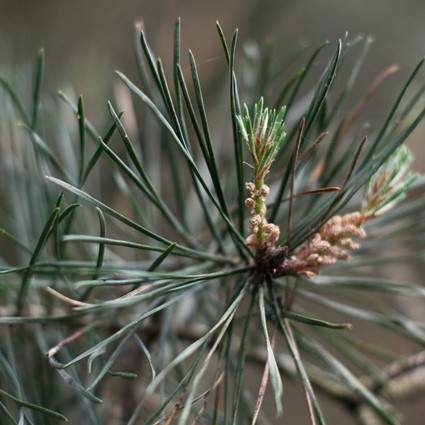
- Pinus Sylvestris (Scots Pine) - fast growing evergreen with light brown shoots and long blue-green needles.
 |
 |
 |
 |
|
(Blackthorn or Sloe Berry) |
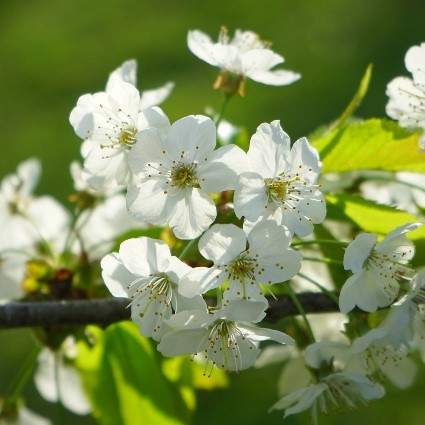
- Prunus Avium (Wild Cherry) - single bright white flowers in spring and beautiful autumnal colour.
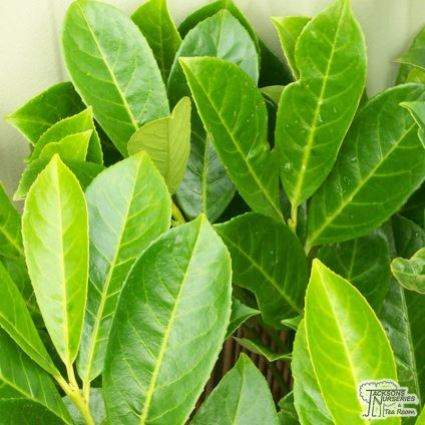
- Prunus laurocerasus Rotundifolia (Common Laurel) - ideal for making a strong growing evergreen screen.
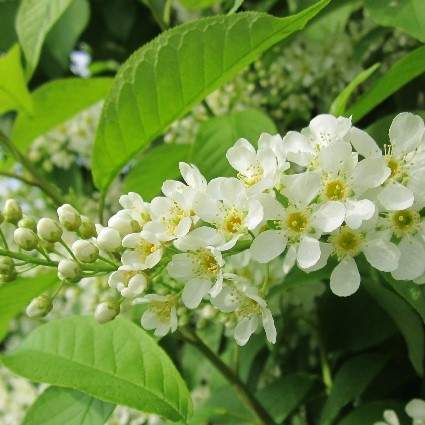
- Prunus Padus (Bird Cherry) - scented white flowers followed by small purple-black fruits that birds love.
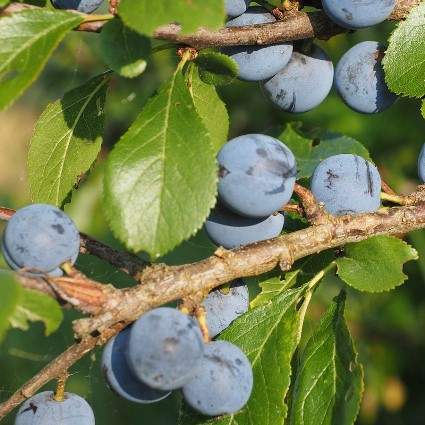
- Prunus Spinosa (Blackthorn or Sloe Berry) - very thorny shrub with white spring flowers and black fruits.
 |
 |
 |
 |
|
(Dog Rose) |
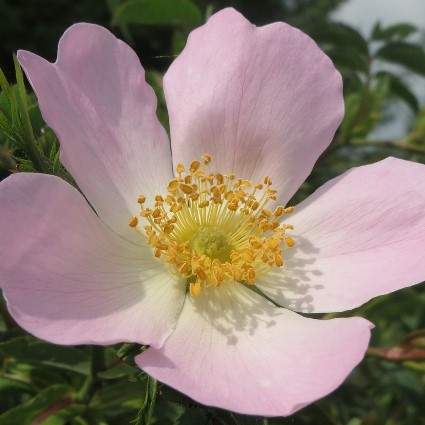
- Rosa Canina (Dog Rose) - thorny native rose ideal for adding deterrent into a native hedge.
- Rosa Rugosa (Hedging Rose) - thorny with bright leaves, stout stems and summer carmine pink flowers.
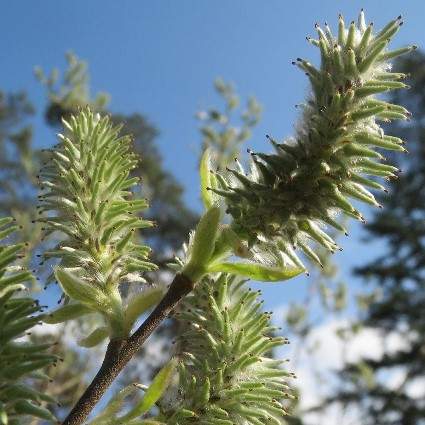
- Salix Caprea (Goat Willow) - broad, grey undersided leaves, and catkins in early spring.
- Sambucus Nigra (Common Elder) - fast growing native bearing white spring blooms and autumn berries.
 |
 |
 |
 |
|
Tilia Cordata (Small-leaved Lime) |
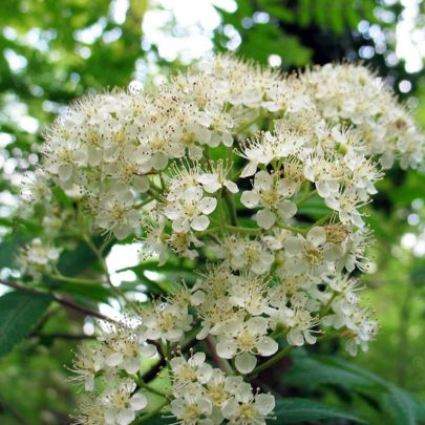
- Sorbus Aucuparia (Mountain Ash) - white spring flowers, red berries and brilliant autumnal foliage colour.
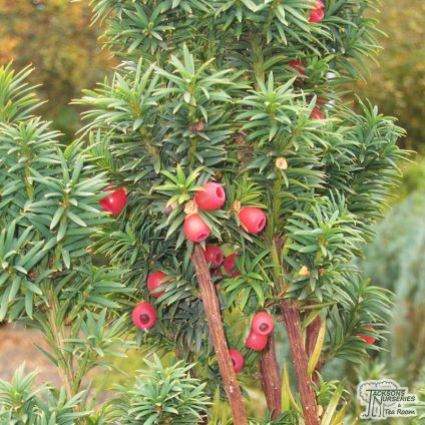
- Taxus Baccata (Common Yew) - very slow growing evergreen excellent for close trimming and shaping.
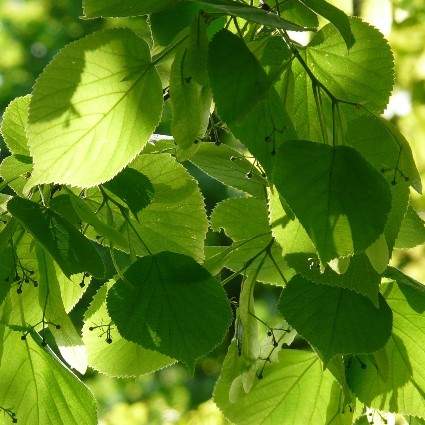
- Tilia Cordata (Small-leaved Lime) - native hedging with heart-shaped leaves and scented white flowers.
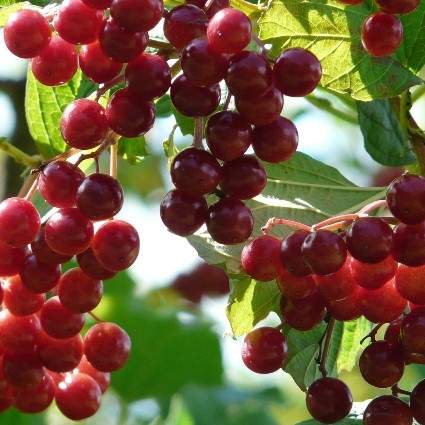
- Viburnum Opulus (Guelder Rose) - white flowers in spring, bright orange-red berries in late summer, then fiery autumnal colours in autumn. Excellent for attracting wildlife to the garden.
-
Plant Guides
- Guide to Bamboo Plants
- Guide to Climbing Plants
- Guide to Climbing Roses
- Guide to Conifers
- Guide to Floribunda Roses
- Guide to Fruit Bushes
- Guide to Fruit Trees
- Guide to Garden Ferns
- Guide to Garden Shrubs
- Guide to Heather Plants
- Guide to Hedging Plants
- Guide to Herb Plants
- Guide to Herbaceous Perennials
- Guide to Hybrid Tea Roses
- Guide to Japanese Maple Trees
- Guide to Ornamental Grasses
- Guide to Rhododendrons
- Guide to Topiary
Share this page:

