Check Here Before Buying – Pot Size Matters...Not all websites offer the same. Plants in a 2-litre pot have twice the root system of a P9 or 1 litre pot.
Complete Guide to Flower Bulbs
Bulbs are ideal for bringing fabulous flowers, colour and fragrance to your indoor and outdoor spaces. Bulbs are like batteries, storing their energy below ground before bursting into life for a fabulous display year after year. They’re simple and easy to grow, a fun gardening project to do with the kids and immensely rewarding when they come into bloom.
What are bulbs, exactly?
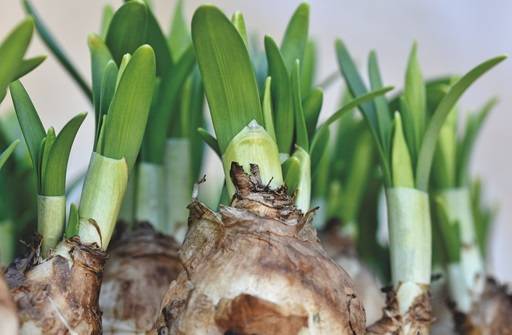
- Bulbs are plants that store their energy and nutrients below ground at the end of the growing season. They’re like a little battery with the flower and the leaves right in the middle, ready to burst into life at the start of their growing season.
- This energy is stored over the winter while the plant is dormant, effectively in reserve until the next growing season when those energy reserves will be used to produce flowers again.
- Bulbs are planted underground, then as the soil warms up, it initiates growth, causing the bud and foliage to push its way through the soil into the light and it flowers.
- Once flowering has finished, it dies back and goes back underground, taking as much energy as it can to charge itself up for future years. So by planting just a single bulb, they will keep growing and reproducing fabulous flowers year after year - an excellent investment for your garden!
- Avoid the temptation to remove any faded, yellow or wilting leaves when your bulbs die back at the end of their display, as they’re busy sending nutrients back into the bulb for next year.
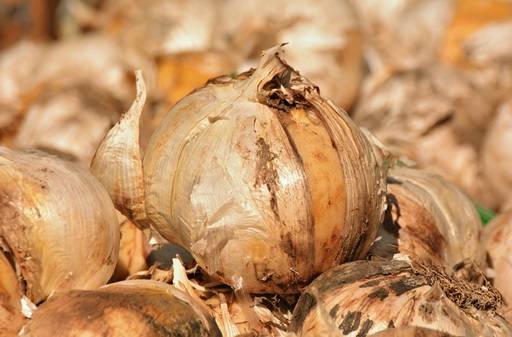
- With bulbs, size matters. The bigger the bulb, the more energy it has stored and the better the flowers will be. At Jackson’s, we stock only the biggest, healthiest bulbs from reliable suppliers.
Spring Flowering Bulbs vs. Summer Flowering Bulbs
- Spring Bulbs – also known as hardy bulbs, spring bulbs are planted in the autumn, spend the winter in the ground and flower in the spring. Planting time is typically September to November, depending on variety. Their protective scales and “tunic” skin protects from cold temperatures and frost through the winter, before bursting into bloom as the soil starts to warm up at the beginning of spring. Popular types include crocus, daffodils, tulips, irises, hyacinth and allium.
- Summer bulbs – also known as tender bulbs, summer bulbs are planted in spring when the risk of frost has passed and when the soil is beginning to warm up. They’ll flower through the summer and often into autumn. Summer bulbs require a minimum temperature of 13 degrees Celsius before they’ll start to grow. Avoid planting summer bulbs too early when it’s still cold and excessively wet, otherwise they may rot. Some popular types of summer bulbs are lilies, dahlias, gladiolus, caladiums and elephant ears.
Bear in mind that not all summer flowering bulbs are fully hardy, so bulbs such as Gladioli may need to be lifted out of the ground and stored over winter before the first frosts arrive.
Where to Plant Bulbs
- Bulbs can be planted in a wide range of locations including the garden border, flower beds, pots and containers, lawns, long grassy areas, naturalised spaces and formal planting schemes. There are even some bulbs that will thrive in the shade, such as tricky spots under canopies of trees.
- Bulbs can serve a variety of purposes from complementing existing planting schemes to filling gaps in the border or (for low growing varieties) acting as attractive ground cover.
- Drainage is key, so if you’re planting on heavier clay soils incorporate two buckets of coarse sand per square metre. Tender summer bulbs may also be started indoors before planting out.
- When planting bulbs in your garden borders, aim to plant them in groups of at least 6 to provide a better display. They look best in drifts (for informal planting schemes) or straight rows (for more formal designs) in groups of the same or contrasting colours.
- See our article on where to plant bulbs for more detailed guidance on how bulbs can be used to best effect in different situations.

- For a more spectacular display, bulbs should be planted in groups. The size of the group depends on the type of bulb. See the table below for details on some of the recommended densities:
| Variety | Bulbs per square metre |
| Allium schoenoprasum | 50 |
| Colchicum autumnale | 150 |
| Crocus chrysanthus 'Snow Bunting' | 75 |
| Fritillaria meleagris Britheg | 225 |
| Galanthus nivalis 'Flore Pleno' (double) | 225 |
| Galanthus nivalis 'Lili Wen Fach' (single) | 225 |
| Hyacinthoides non-scripta | 150 |
| Narcissus 'Tete a Tete' | 75 |
| Tulipa 'Red Riding Hood' | 50 |
| Tulipa sylvestris | 50 |
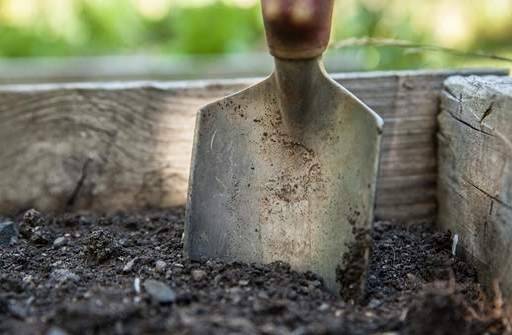
Bulb Planting Instructions
- Dig a hole wide and deep enough for your bulb. You could do this with a hand trowel or bulb planter / dibber.
- If you intend to under-plant larger areas with bulbs, for example under a lawn to naturalise your grassed areas, it may be more efficient to remove the turf and plant bulbs underneath en masse.
- See planting depth information further below to determine how deep to dig your hole.
- Place the bulbs in the hole with their growing tip facing upwards.
- It’s important to ensure water cannot get in and around your bulbs, as this may cause them to rot. If digging your planting hole with a trowel, you may end up with a point at the bottom of the hole, rather than a flat bottom to the hole, where water could collect and rot the bulb.
- The best way to avoid air pockets where water can gather is to twist your bulbs as you put them into the hole, in the same way you would a light bulb, just into the ground rather than up to the ceiling. Gently push down and twist so the base of the bulb hits the base of the soil.
- Space them at least twice the bulb’s own width apart (if growing in pots or containers, the spacing between bulbs can be reduced but make sure they aren’t touching). Replace the soil and gently firm it, avoid doing this with your feet or too much force as this can damage the bulbs.
- See our full guide on how to plant bulbs for more details.
Planting Bulbs the Right Way Up
- For most bulbs, it’s relatively easy to tell which way up they should be based on their cone-like shape. The narrower part of the cone-shape (the pointed end) is the top of the bulb and the flatter part at the base if the bottom of the bulb.
- Sometimes there will be hairy roots coming from the base, showing it is the bottom of the bulb. You may also be able to see the beginning of a shoot coming out at the top of the pointed end.
- For bulbs like alliums, the right way up is not as obvious, although you should be able to see a slight point at the top and a flatter bottom and, again, a few hairy roots may be the giveaway.
Planting Depth
- It is important to plant your bulbs at the right depth. Plant them too shallow and they’re at risk of being dug up by squirrels who will sniff them out and indulge on their nutrients. The new growth of shallow planted bulbs may also get exposed too soon, risking frost damage.
- On the flipside, bulbs planted too deep are likely to bloom late or not at all and tend to produce more foliage at the expense of the flowers.
- As a rule of thumb, measure the bulbs from the base to the tip and double or triple this measurement to get a rough idea of the planting depth. The diagram below shows recommended planting depths for some common varieties. See the table further below for a more comprehensive list of planting depths.
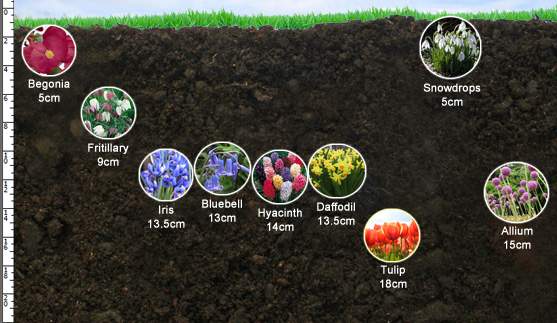
| Variety | Depth |
| Allium schoenoprasum | 15cm |
| Crocus | 10cm |
| Daffodil | 30cm |
| Fritillaria meleagris | 9cm |
| Hyacinth | 14cm |
| Iris | 10cm |
| Large Globe Alliums | 30cm |
| Snowdrops | 5cm |
| Tulip | 18cm |
Tools for Planting Bulbs
- Bulb Trowels. Bulb trowels are a little different to a traditional trowel. Traditional trowels are quite wide at the top whereas bulb trowels are slightly longer and narrower, to allow you to take a core of soil out from the ground. Bulb trowels also often have measurement markings on so you can measure how far you’re digging down.
- Bulb Planters. Bulb planters are tools that take a cylinder-shaped core of soil out simply by pushing them into the ground and pulling up again. Smaller bulb planters are used kneeling down close to the ground while larger ones with handles to allow for easy planting without bending are also available. Simply return the core of soil to the hole once your bulb has gone in.
- Bulb Dibbers. For small bulbs, bulb dibbers with a pointed end that create a small slot in the soil where inserted can also be used. They work in the same way as seed dibbers but for bulbs.
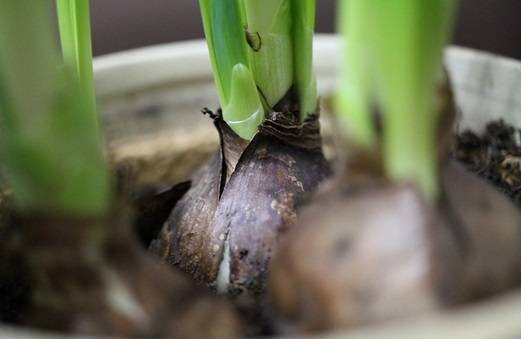
Growing Bulbs in Containers
- Most bulbs are ideal for growing in containers with showy flowers such as Tulips and Alliums in particular making beautiful statements.
- Use a good quality multi-purpose compost in your containers combined with a handful of grit to improve drainage. Specialist bulb compost is also available.
- Plant bulbs as you would in a garden border, but they can often be planted closer together to provide a stronger display.
- If mice and other pests are a problem, cover the top of your pots and containers with chicken wire or mesh until the new shoots appear.
- Pots may need protection from frost during the winter, so wrap the pots with newspaper or horticultural fleece. Clustering several pots together will also help them to stay warm.
Best Bulbs to Grow
- Here we elaborate on some of our picks of the best spring and summer flowering bulbs to grow. These are some of the most popular varieties seen in gardens across the UK for good reason.
Best Spring Flowering Bulbs:
- Allium - Allium flower bulbs are highly ornamental members of the onion family, producing spectacular globe-shaped flowers on leafless stems from late spring through early summer. Flowers on some varieties are very large, working well in fresh and dried floral arrangements.
- Crocus – one of the best known bulbs, available in both spring and autumn flowering varieties. Crocus flowers will bring the first flush of colour to your garden in early spring. They’re effective planted in the border, containers and particularly well suited to naturalising grasses areas.
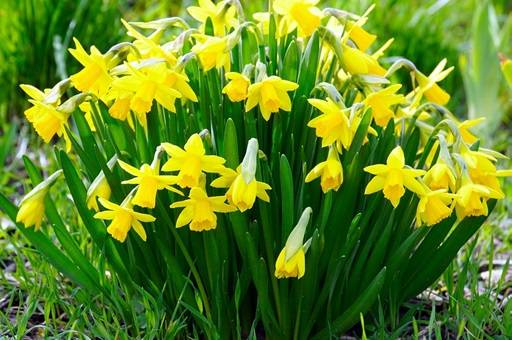
- Daffodils – also known as Narcissus, daffodils have something to offer every garden with their distinctive, highly recognisable flowers and vibrant colours, available in the stereotypical yellows as well as whites and soft pinks. Ideal for borders, rockeries, pots and containers.
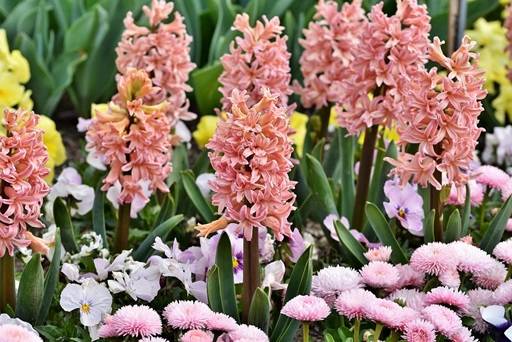
- Hyacinth – available in a range of vibrant and pastel colours from bright pink to soft blue. Hyacinth’s are well-loved for their richly perfumed single or double flowers, which my be held in loose or dense racemes. Particularly popular for growing indoors in containers and forcing to have them flowering earlier than they would normally for Christmas.
- Irises – iris flowers are perfect for adding grace and elegance to any border or container display. They’re available in a rainbow of colours with flowering periods through spring into summer. Types range from blousy perennials to early miniatures, all invaluable in the garden.
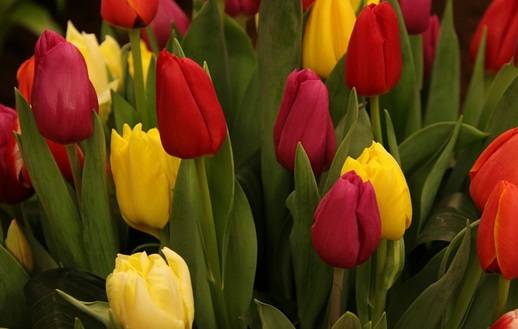
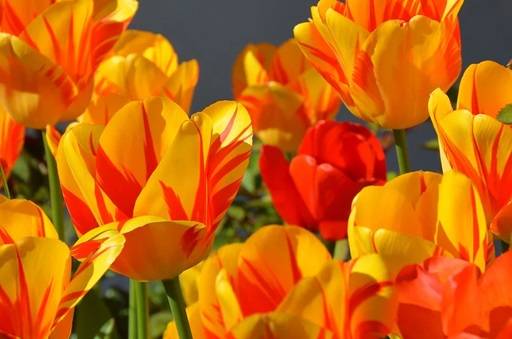
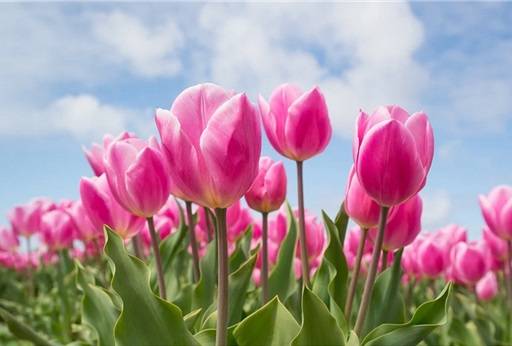
- Tulips – tulip flower bulbs have been cultivated in Holland since the 1600s. There is now an enormous range of tulips available that have grown out of the relentless crossing of varieties by breeders. Tulips first originated from the mountains of Kazakhstan and were brought via Turkey to the Botanical garden of the University of Leiden in Holland.
Best Summer Flowering Bulbs:
- Bergenia (Elephant Ears) - evergreen perennials with wonderful, large cabbage-like leaves producing erect clusters of bell-shaped flowers in spring. The blooms are produced on stalks 25-30cm high in shades of reds, whites and pinky-purples.
- Caladiums – a classic foliage plant for indoors or outdoors during the summer months. Caladiums are grown for their vibrant, tropical leaves with fast growth rate and a long season for colour. Perfect for adding a splash of colour to shaded spots of the garden.
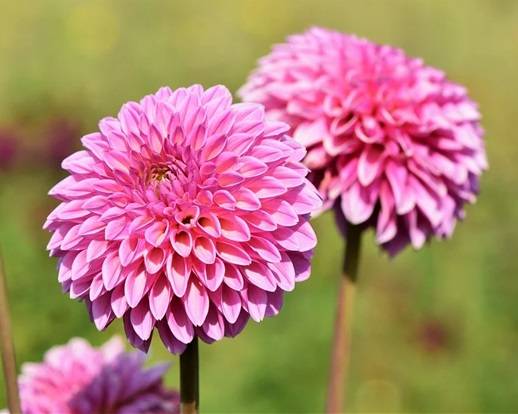
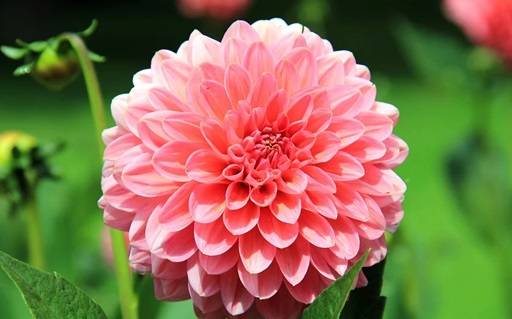
- Dahlias – well-loved for their long flowering period and eye-catching blooms in a rainbow of colours, Dahlias are the highlight of the late summer garden. This popular, floriferous genus is perfect for filling out dry, summer borders with showy blooms from summer through autumn.
- Gladiolus – like a summer tulip in many ways and just as easy to grow. Gladioli originate from hot, dry climates, in the Mediterranean and South Africa, so require good drainage and plenty of sun. Make excellent cut flowers.
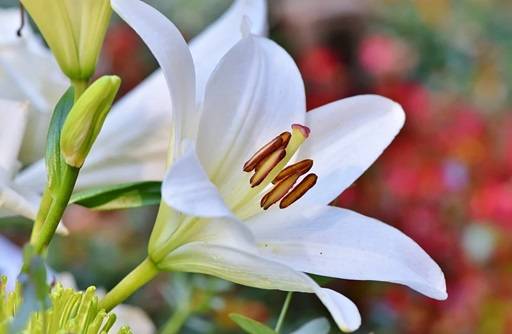
- Lilies – no garden is complete without at least one magnificent lily. They’re available in a wide range of shapes and colours, effective for filling gaps between shrubs in the border or patio containers. Easy to grow providing they have good drainage – incorporate grit on heavy soils.
How to Plant a Lasagne Container of Bulbs
- Planting a “bulb lasagne” of spring flowering bulbs between September and November is a great way of adding colour and impact to even the smallest of spaces when spring comes around.
- In fact, by combining bulbs in layers that flower at different times, you can create a display that will keep right through from late March to the end of June.
- Choose bulbs for your lasagne that grow to different heights for the best, most fulsome display. Most types of bulbs work well, just make sure their colours and styles combine well together, avoid clashing colours and consider the surroundings of where your lasagne container will go.
- Choose a relatively deep container to accommodate at least 3 layers. The larger the container the better, as it will allow you to fit more bulbs in each layer.
- Start by adding a 5cm (2in) layer of gritty compost at the bottom of your container.
- Next plant the largest and latest flowering bulbs first and cover with a layer of soil. Daffodil bulbs, spaced slightly more generously than usual, are a good choice for your bottom layer.
- Cover those with a layer of compost until you can just see the bulb tips.
- Continue layering your bulbs by their required depth, moving to the smallest and earliest in the top layer. The emerging shoots of the lower layer bulbs will just bend round anything they hit sitting over their heads and keep on growing till it’s time to flower. In our example, we use tulip bulbs in the spaces between the tips of the daffodils for the next layer.
- Repeat the process of adding more compost until you can just see the tips of the tulips, before adding a final layer of muscari or crocus bulbs as your final layer.
- Cover with a final layer of compost and water well. If you’re using a large container, it may be best to move it to its intended location before planting up – it will be heavy once planted.
- Some of your bulbs should push up through the compost together in the spring to produce a striking, full display and make you the envy of your neighbours!
Lifting and Dividing Bulbs
- Bulbs will naturally divide and spread under their own devices. Over several years, you may find they become congested, which can eventually reduce the flowering display (daffodils are prone).
- If you’ve had bulbs in your garden for a while and the flowering display starts to wane, consider lifting and dividing to rejuvenate their growth and floral display.
- Bulbs can be lifted and divided after the flowering has finished, taking care not to pierce the bulbs with your trowel. Avoid yanking on the foliage too, as this will damage the bulb structure.
- It’s likely you will see larger bulbs with smaller offsets growing off their sides. Detach the offsets from the main bulb. Offsets can certainly be replanted, just note they may take 1-2 years to grow big enough to produce flowers of their own. Larger offsets will flower sooner.
- Replant your bulbs giving them plenty of space to grow – see the Planting Density for Bulbs table above for recommended distances.
- Offset bulbs may also be potted up into containers to get them going, before moving them into the garden once they have grown larger and are more likely to flower.
Share this page: