How to cultivate your soil
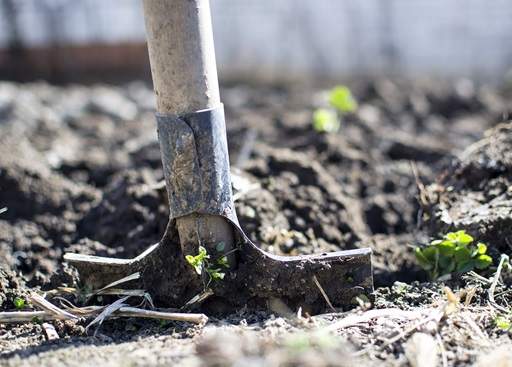
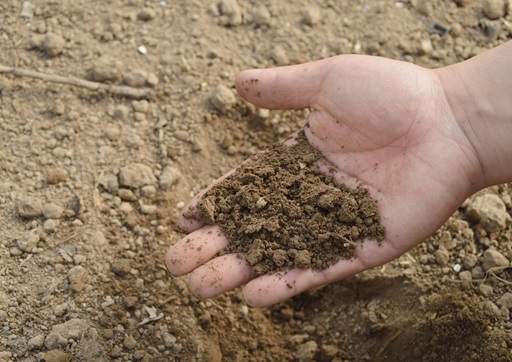
Soil cultivation (or digging) refers to turning over your soil to a spade's depth to bury weeds and debris into your soil and aerate the ground to avoid compaction. It makes it easier for air nutrients and water to penetrate deep into the soil for plants' roots to access. It can also be done to mix in materials such as manure, lime and fertiliser to enrich your soil or manage the acidity. Similarly, if your soil is typically wet or has high clay content, you can add sand when cultivating to improve drainage. Bare soil that you're going to plant up over the following season is best cultivated but avoid digging too close to other plants to prevent damaging their roots. It can be hard work - and good exercise during the colder months of the year - but needn't be back-breaking if taken slowly.
When to Cultivate
- The best time to cultivate your soil is between autumn and early spring at a time when the ground is not frozen or waterlogged.
- Avoid cultivating too late in the spring because when the warm weather arrives it will lead to moisture loss at the time when you're plants are starting to need it.
- If you have a heavy clay soil, it's best to do it in autumn before the ground becomes too wet and clingy. This will allow the frost to break up and improve the structure of the soil over the winter.
Before you start
- Before you start digging the soil, remove larger weeds. Smaller ones aren't a problem as they'll be lifted by your spade or the rotivator and buried into the soil to decompose and add nutrients.
- Look out for any large rocks or other hard objects like dog bones that may have been left lying around. Remove these before you start.
- Double-check there are no electricity, gas, telephone or other lines in the area you are going to dig. It's rare for them to be at a single spade's depth but relevant if you're going to double dig.

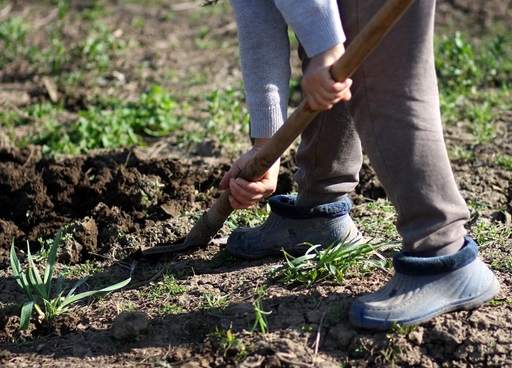
Single Digging
- Starting at one end of a rectangular plot, dig a trench 30cm wide and to a spade's depth, placing the soil to one side (at the end of the plot) and leaving the trench empty.
- Lift the same amount of soil from the area just behind (further into your plot) and place the dug soil, inverted, into the original trench, breaking it up as you go.
- Work methodically down your rectangular strip turning each trench into the space before it.
- When you reach the end, fill the final trench with the soil you left to one side from the original trench.
Double-Digging for Rose Beds
- Double-digging essentially means 'turning' the soil to a depth of 2 spade lengths.
- Although hard work, it is recommended when planting deeper-rooted perennials and roses.
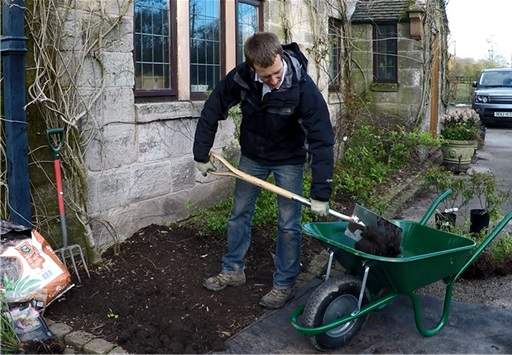
- Starting at one end of a strip of ground that is vacant of grass and other vegetation, dig a trench one spade's width wide and one spade's length deep, putting the dug soil into a wheelbarrow.
- One complete, turn and break up the soil below the bottom of the trench (i.e. 2 spades deep into the ground). You may alternatively wish to use a fork to break up the lower ground, mixing organic matter into the deeper soil as required.
- Once complete, move onto the next spade-width strip of ground and turn the top spade's length of soil into the first trench. Again, use your spade or fork to break up the subsurface soil.
- Repeat the process until you reach the end of the final strip of the planting ground and fill the final strip using the soil from your wheelbarrow.
Improving your Soil
- If you have an acidic soil with a low pH, consider adding lime or wood ash to balance it. Standard lime comes in four types: pulverized, hydrated, granules and pellets. Depending on your soil type and the amount of moisture in the ground, one of these compounds may be a good option. Wood ash results in a less dramatic change in pH but can work well in sandy soils.
- If you have an alkaline soil with a high pH, consider adding peat moss, composted leaves or pine needles, composted manure or sawdust. These will all alter the pH gradually over time so if you need a quicker solution or require a bigger reduction in pH, consider applying sulphur. Aluminium sulphate will change the acidity most rapidly, but should be used carefully.
- If you have a wet clay soil which lies wet, you can add sand to improve drainage.
Primary and Secondary Cultivation
- Primary cultivation involves digging the soil or using a mechanical rotivator in the way described above. Leave the soil alone for a few days or, is possible, several weeks after primary cultivation to allow the materials to decompose and enrich the soil with nutrients.
- Closer to planting time, you may choose to dig or rotavate your soil again, digging or rotovating perpendicular to the way you did it originally. After this secondary cultivation your soil should be loose, fluffy and finely textured - perfect for planting or sowing seeds.
Other Options?
- If your ground is extremely poor, or you don't want to go to the effort of digging your soil, you might want to consider building a raised bed instead.
Share this page: