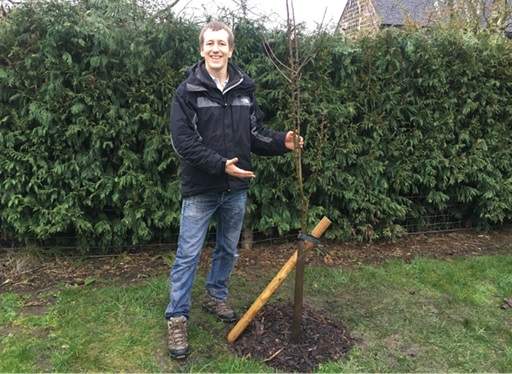
How to plant a tree
Trees bring a great sense of atmosphere, height and permanence to a garden or landscape. They're probably one of the most expensive things you'll buy for your garden in the plant department so it's worth taking the time to get your tree planting right, get your tree off to the best start in life and be able to enjoy it for many years to come. The best time to plant is between mid November and late March - this is when the roots are dormant and can copy better with being moved.

Equipment required:
- Tree in a pot
- Spade and fork
- Gardening gloves
- Bucket or large trug
- Tarpaulin sheet
- Plank of wood or bamboo cane
- Mycorrhizal fungi
- Stake
- Mallet
- Tree tie with spacer
- Hammer and nail (or screw and screwdriver)
- Tree guard or spiral
- Watering can
- Mulch e.g. bark or garden compost
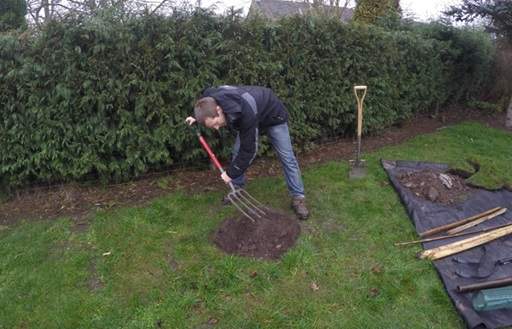
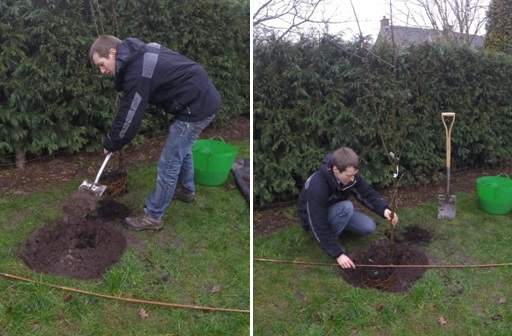
1) Dig the planting hole
- Mark out a planting hole with dimensions three times as width as your trees' container.
- This can be done by either measuring or using the pot your tree is growing in to mark the ground you're your to dig in the grass.
- Remove any turf covering the planting hole first and place this onto the sheet of tarpaulin.

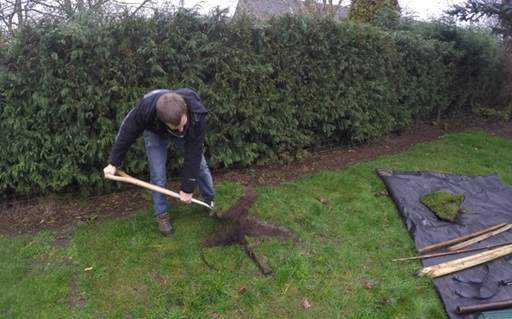
- Dig the planting hole to the same depth as the pot your tree is growing in.
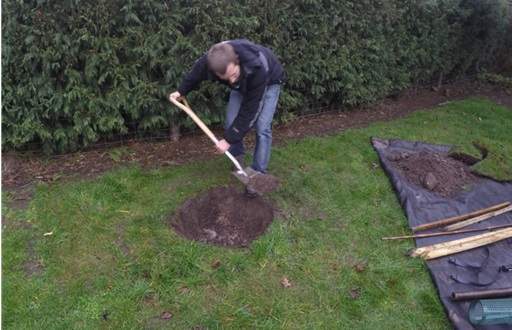
2) Preparing the planting hole
- Use a fork to break up any compaction of the soil at the bottom and around your planting hole.
- This is important particularly in heavy soils where the clay is prone is smearing- you'll want to break up the shiny layer so the roots can penetrate the ground around it with ease.
- If you're planting in a light soil, lightly firm the ground at the base of your planting hole to avoid your plant sinking deeper in the planting hole than you wanted it to later on.
3) Tease out the roots from the root ball
- Tease out the roots from the base and around the edges of your root ball.
- Whilst this may seem quite extreme it's really important to encourage the roots to move out from the circular shape they adopted in the pot once planting out.
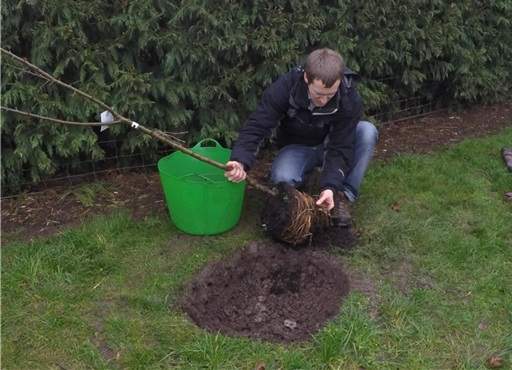
- Trees are sometimes planted too deeply in their pots. It's essential that the point where the root meets the stem is at the finished level of the ground when the planting is complete.
- It can be useful to find the root flare (the point where the roots break out from the stem) at the time you tease out the roots from the rootball.
- If the compost line on the stem has been much higher, remove the excess soil above the root flare. This will prevent you from planting too deep, which can make the bark soft and vulnerable to the entry of pathogens like honey fungus.
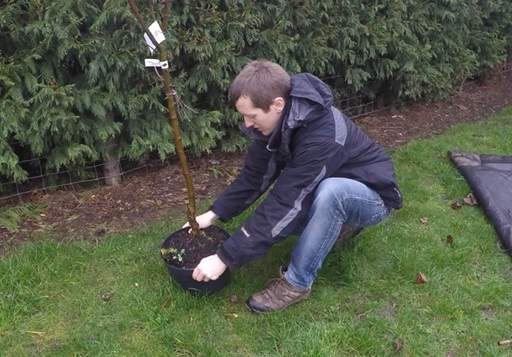
4) Soak the rootball in a bucket of water
- Dunk the rootball in a bucket of water for 20 minutes before planting, allowing the water to seep into the centre.
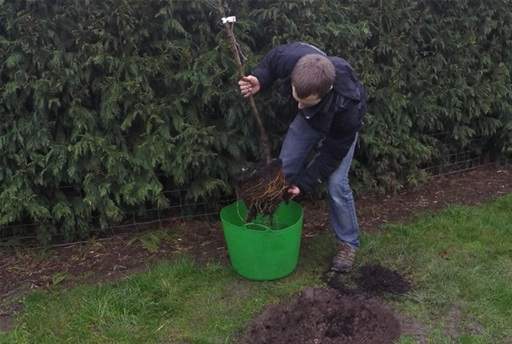
5) Apply a mycorrhizal fungi to the roots
- Mycorrhizal is a beneficial fungi that forms associations between the roots and the soil and can help the plant take up a larger range of nutrients and water that are available to it.
- Sprinkle some mycorrhizal fungi all around the sides of the root system.

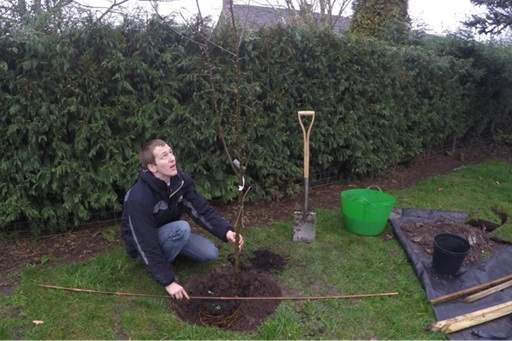
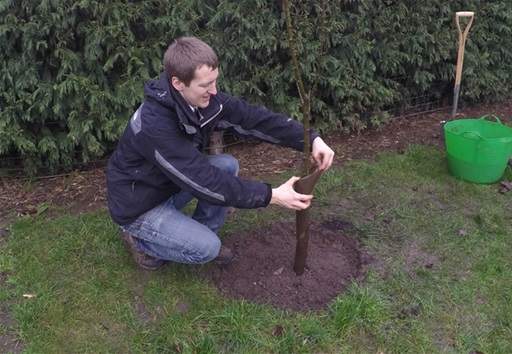
6) Positioning root ball in the planting hole
- Place the root ball in the planting hole so the top of the roots is at ground level.
- Use a plank of wood or bamboo cane to gauge the planting depth before backfilling.
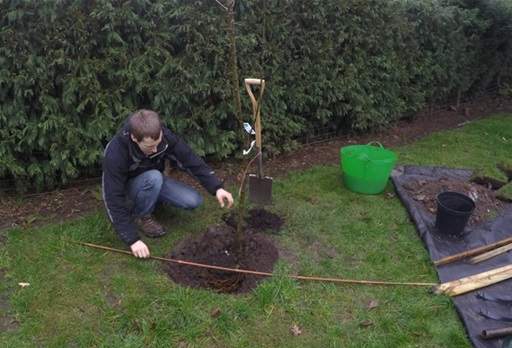
- Remove more soil or add back some dug soil to the base of your planting hole to achieve the correct planting depth, constantly gauging the depth with the plank of wood or bamboo cane.
- Before backfilling, have someone view the tree from several directions to confirm it is straight.
7) Backfilling
- Refill the hole with the dug soil, ensuring there are no air pockets around the roots.
- Having someone help you with the planting is very helpful when backfilling because one can backfill whilst the other holds the tree in position, preventing it from sinking or falling over.
- Shake the tree a little as you backfill to help the soil settle around the roots.
- As you continue the backfill you can start firming the tree into the hole. Again, it helps for one person to hold in an upright position whilst the other firms down the backfilled soil.

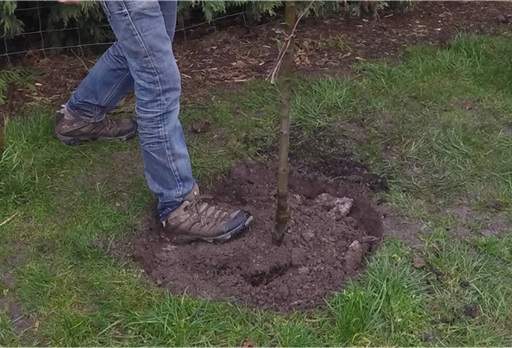
8) Firming down
- Firm down the soil with your toe pointing towards the tree so you're not pushing the tree down but you're still firming the soil around it. Then cover the ground where you've firmed the tree in.
- Once you've finished backfilling and firming down, check that the all important root flare is still just about visible and you haven't planted too deep.
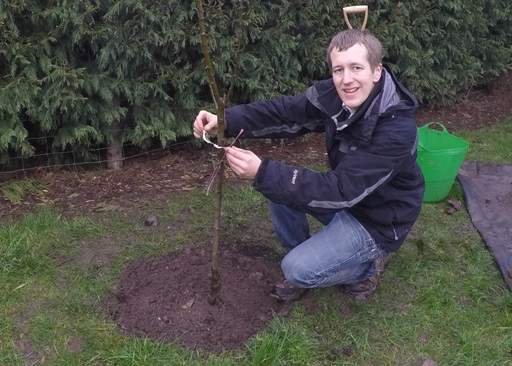
9) Removing tree ties, labels etc
- Before moving onto staking the tree, get rid of any ties, labels or anything else that might have been tied around your tree in the nursery - you don't want anything to impede the growth.
- If any of the ties securing your tree to a cane or other supportive structure are quite tight, remove them.
10) Installing a tree guard
- Install a tree guard or spiral to protect your tree if your garden has wildlife visitors like rabbits or deer who may try to nibble at the young bark.
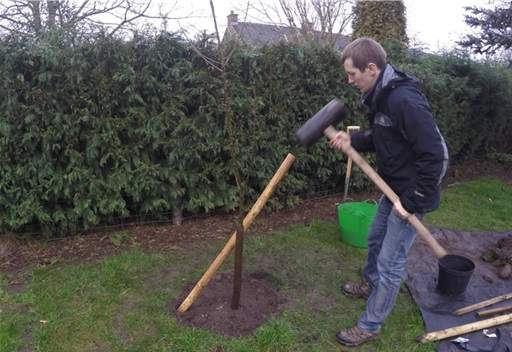
11) Staking your tree (if required)
- If planting a tree at an exposed site, stake your tree to prevent wind rock, which can tear the roots and create a gap around the base of the trunk that can fill with water and encourage rot.
- Install a stake at a 45 degree angle to avoid damaging the rootball. That will be enough to anchor the base of your plant and hold it in place in the ground.
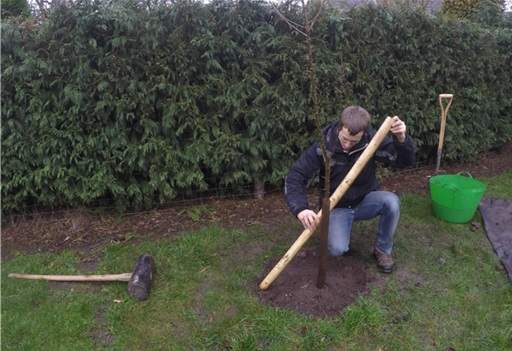
- Put the stake on the side of the plant where the prevailing wind blows such that when the wind is blowing it blows the tree away from the stake (rather than onto the stake).
- Install the stake so that the top of the stake comes about a third of the way up the tree. This will allow the top of the tree to flex a bit to encourage it to thicken up.
- The stake should be enough to hold the rootball in place whilst allowing the stem to flex which is really important to help the stem thicken and support itself.
12) Attaching the tree tie
- When attaching the tree tie make sure you keep the tree tie pad or spacer between the stake and your tree to prevent rubbing which could cause damage to the young bark.
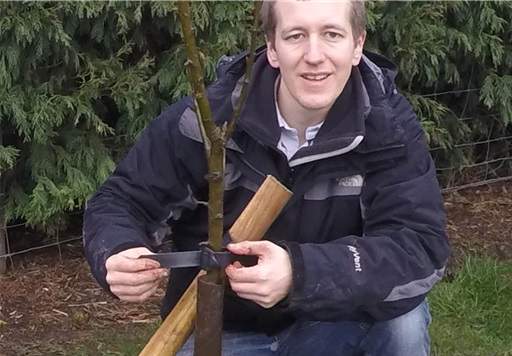
- Once you're happy with the position of your tree tie, secure it to the stake with a nail or screw to stop it from slipping.

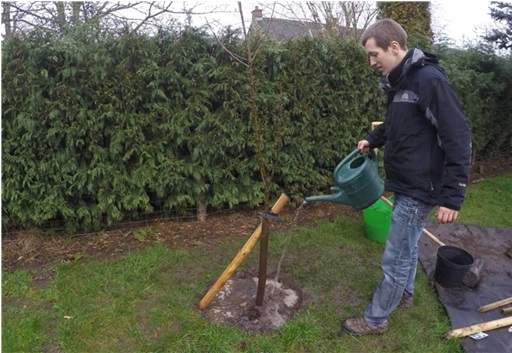
12) Watering in and mulching
- Give your tree a good water to help settle the soil around the roots.
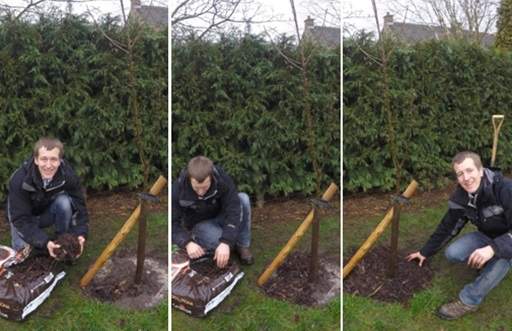
- Mulch with a 2-3 inch (5-8cm) layer of bark chippings, home-made garden compost or other well rotted organic matter to aid water retention and minimise weed growth.
- Be careful not to pile any organic matter up against the tree base by keeping a 1-1.5 inch (3-4cm) mulch-free ring around the stem of your tree.
On going care
- It's important to keep your tree well watered for the first two growing season as it establishes its root system in its new location.
- Keep the stake and tree tie in place for around 12-18 months, during which time the root system should have established well enough to make the tree self-supporting.
Share this page: